Pages

January 27, 2014

Balance


Hello, Cathi here with my first official post as a member of the Berry71Bleu design team! I am so honored Marivic chose me to be among this talented group of women! There has been so much incredible inspiration all month and here is my contribution!!


My word, like Dana, is Balance! I had an amazing year last year going from one challenge blog design team to ten design teams and guest design spots for challenge blogs, manufacturers and stores. I have been beyond lucky and am so grateful for that! But I definitely took on too much with all my excitement of being asked. This year I want to remember that I need to balance my life. I need to remember those two little girls in this photo and make sure they are my priority. I need to have a creative outlet and enjoy that too, but deadlines and projects can't be so many that they make me miss out on watching my girls grow and being with them doing fun things!! I think I am learning that balance now, and I will strive to keep that balance better this year.


The papers I used are Fabscraps Shabbylicious and the paper is piled up with tons of embellishments and flowers, including that gorgeous tag (the two birds on the tag reminded me of my two girls!) from Marivic, Prima and Manor House flowers and a gorgeous Prima metal chandelier. I used my Prima damask stencil and my newly won Prima script stamp, along with a Lindy's Stamp Gang Starburst spray for my background work.


I stitched around my photo for a bit of extra detail and distressed and layered my background papers with Black Soot Distress Ink. The title balance is done with Thickers.

I have done my layout starting out with the sketch from Once Upon a Sketch, it kinda took on a life of its own after a while though, but I used it as my starting point. Balance is my lesson learned, and one I need to keep learning, and there is lots of journaling on the kraft tags on the layout about balancing my children, my health and my creative needs and desires. I am sure I will be continuously learning how to balance my life when it comes to these!


Thank you so much for taking the time to look!!

Now onto the prizes...
Main Prize:

6x6 Gelli Arts Gel Printing Plate


 2 tubes of Green and Blue Speedball Block Printing Ink.


Random Prize:


$15 Gift Voucher


AUD$15 to be used in our online store at www.flourishwithabling.com.au


Sponsors:  


A Tradition of Excellence: For more than 100 years, high quality art products from Speedball have created Unlimited Possibilities for Artists in both classrooms and professional studios around the world. Speedball is committed to artistic innovation and expression.

Printmaking Is A Time-Tested Craft That Is Ideal For Contemporary Art Expression:Today with the advent of new techniques and materials, Printmaking has gained renewed interest and unprecedented support. Printmaking begins with Speedball - America’s leading manufacturer of printmaking materials - unequaled for quality, safety and ease-of-use.

Economical and Time-Flexible: The Beauty of Printmaking is in its flexibility and economy. Projects can range from simple printmaking exercises lasting only for a short session to more complex projects that can be expanded to include advance detailed techniques. Printmaking is more popular than ever and Speedball Art Products is the artist’s choice!

Speedball Block Printing Inks: Give your creations all the brilliance they deserve with inks from Speedball. Speedball’s Water Soluble Block Printing Inks come in 18 brilliant colors available in 37cc, 75cc, 150cc tubes plus 8oz. and 16oz jars. These inks are easy to clean up with water, non-toxic, gluten free and super for printmaking with linoleum, wood, Flexible Printing Plate, Speedy-Carve™, Speedy-Cut™ and Polyprint. All Speedball inks are AP Non-Toxic and are excellent for use in the studio, school or home. Speedball also carries Oil-Based Block Printing Inks available in 10 brilliant colors in 37cc tubes or 7 colors available in 75cc tubes. Suitable for printing on papers and fabrics, they are non-darkening, waterproof and permanent.


We love gelatin printing and we've developed a better way to do it!

Our Gel Printing Plate looks and feels like gelatin, but is durable, reusable and stores at room temperature. It's easy to clean and always ready for printing. Monoprinting on a Gelli plate is simple and fun. The gratification is immediate, and the prints are too cool!


Flourish with a Bling is an Australian retail and wholesale company, owned by Lucy Patrick, Kate Settineri and Maggie Lloyd who are three passionate and avid crafting mums with a love for design, colour and everything Bling!

“Our aim is to bring more colour and variety into the world of flourishes and embellishments.With our unique designs and new materials we feel we are putting the ‘Bling into Scrapbooking.' We have a beautiful range of flourishes, vines, pearls, gems and more. And just recently, Flourish with a Bling has introduced their own range of gorgeous flowers.”

They also sell fabulous themed packs at amazing prices.They have flat rate postage within Australia and also post internationally (half price shipping for large orders).You can contact them and find all their products on their easy-to-use website www.flourishwithabling.com.au. Don’t forget to check out theirfacebook page for random giveaways, visit their blog to win monthly challenges and visit their gallery for inspiration and ideas! 


Please note that if the winner(s) of this challenge are international they will be responsible for shipping costs.

Make sure you follow our CHALLENGE RULES.
Thank you and we hope to see your beautiful creations this month!


January 26, 2014

Shabby Chic Vintage Card


Hi! Cathi here! This week I wanted to use some of my gorgeous glimmer cardstock to make a shabby vntage card with my new embossing folders and dies released at CHA!! I had the most amazing time visiting CHA this year and working one afternoon at the Couture Creations stand. Was great to get to meet some of the Australian DT in person!! I have a  few layouts planned for February with the new Secret Treasures releases, so many beautiful designs!!!!


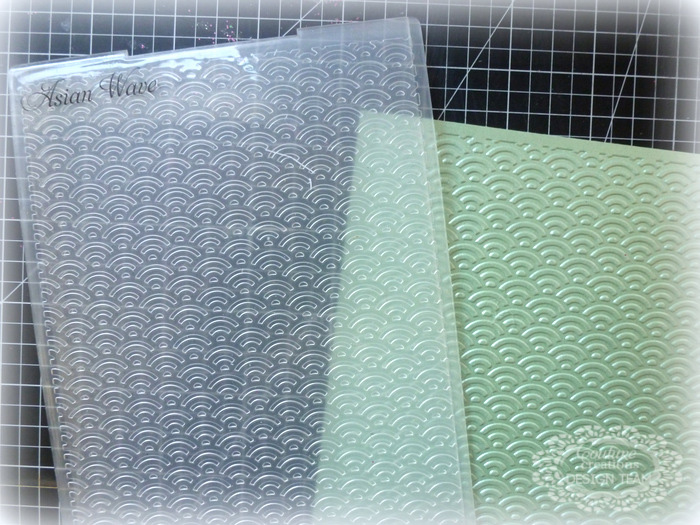
To start my card I used a base of green glimmer cardstock and emboss it with the beautiful The Harmony Asian Wave Embossing Folder.


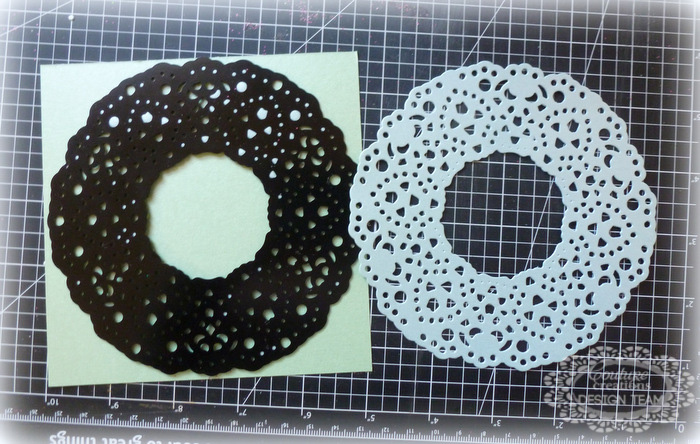
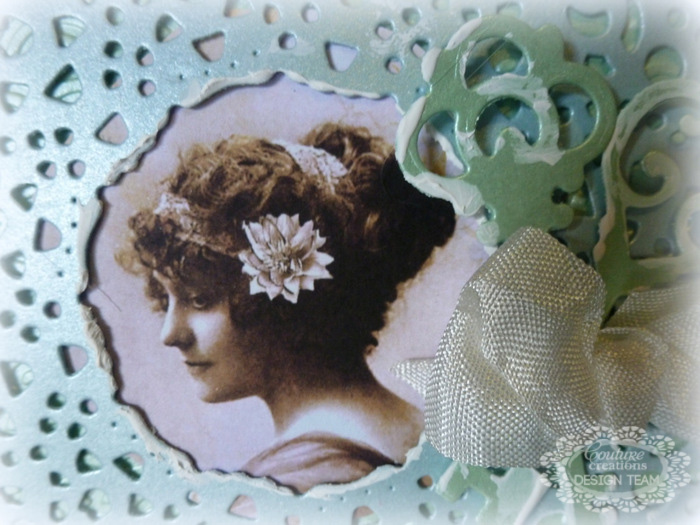
Next I layer my card with the beautiful Madeline Les Fleurs Die. In the cut out center of the die cut I added a beautiful vintage image of a woman I had.


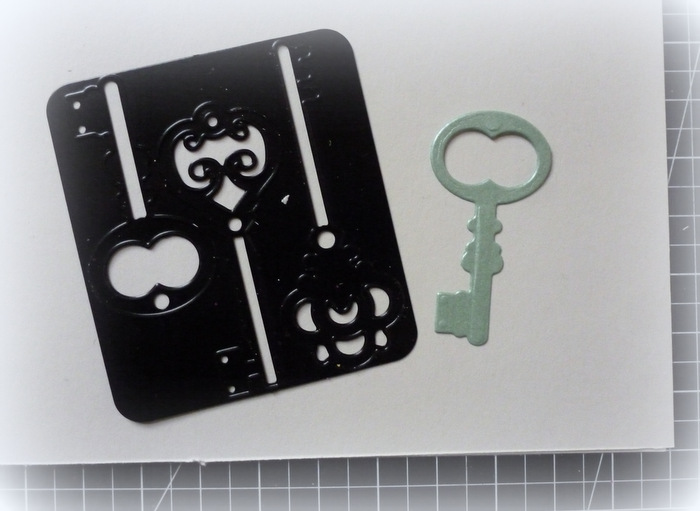
I add some yummy keys from the Madeline Keys to My Heart Die.


I antiqued my card I used a very simple technique of adding gesso. It highlighted the raised edges of the embossed pattern, and when I coated the edges and random spots on the doily and key die cuts it added a really antiqued peeling whitewash paint effect to card, I just love how effective it looks!


To finish off the card I added a vintage seam binding double bow on the keys and some Couture Creations Self Adhesive Pearls on the doily. Simply done, but very textured and elegant effect.

Thanks so much for visiting today, I hope you like the project!! 


January 24, 2014

Handbag Thank You Card for Creative Expressions


This week I did another clean and simple card to showcase the lovely new handbag stamps from Creative Expressions. This one features the Rose Blossom Purse stamp.

To begin with I used some lovely vintagey mustard paper from the Tim Holtz Crowded Attic Paper Stash for my base paper. I also stamped the purse onto this paper using Sepia Archival Ink. I colored in the image using Drawing Inks in Soft Moss and Cosmic Blush and lifted it up with foam tape.

I layered my fussy cut purse stamp onto a gorgeous die from Spellbinders Decorative Labels 22, so beautiful! For the paper for this layer, I used a gorgeous green from the Tim Holtz Retro Grunge Paper Stash. I stamped the Thank You sentiment on the die cut in the Sepia Archival ink.  As a finishing touch to the card I added some stitching, some Key Charms and some gorgeous Emerald Green Sheer Iridenscent Ribbon.

This week we have another fun
Fun-Time Friday at Creative Expressions!!

Basically, we recently did a photo shoot and have taken some of the smaller items, popped them in a jar ready for you to guess how many items are inside!


All you need to do to enter, is LIKE this post, leave your guess as to how many items are in the jar, in the COMMENTS and then SHARE with your friends!

The Prize: A selection of the contents of the jar (jar not included). Please note that some of these items have been opened and will be posted out to the winner as seen in the jar. However, there are LOADS of goodies for you to enjoy inside, so give it a go and guess how many items are inside.

Competition closes at 5pm GMT and the winner will be announced on Facebook shortly afterwards. Good Luck!


Rose Blossom Purse Pre-cut Stamp  Archival Ink Pad SepiaCosmic Shimmer Drawing Ink Garden Twist Set  Cosmic Shimmer Drawing Ink Essentials Set  Spellbinder Die Decorative Labels Twenty Two Ribbon Sheer Iridenscent Emerald Green 100yds 3/8  Assorted Key Charms pk 18Tim Holtz Idea-ology Paper Stash Retro Grunge  Tim Holtz Idea-ology Crowded Attic Paper Stash

January 23, 2014

Creative Stamping Magazine Pub for Visible Image!


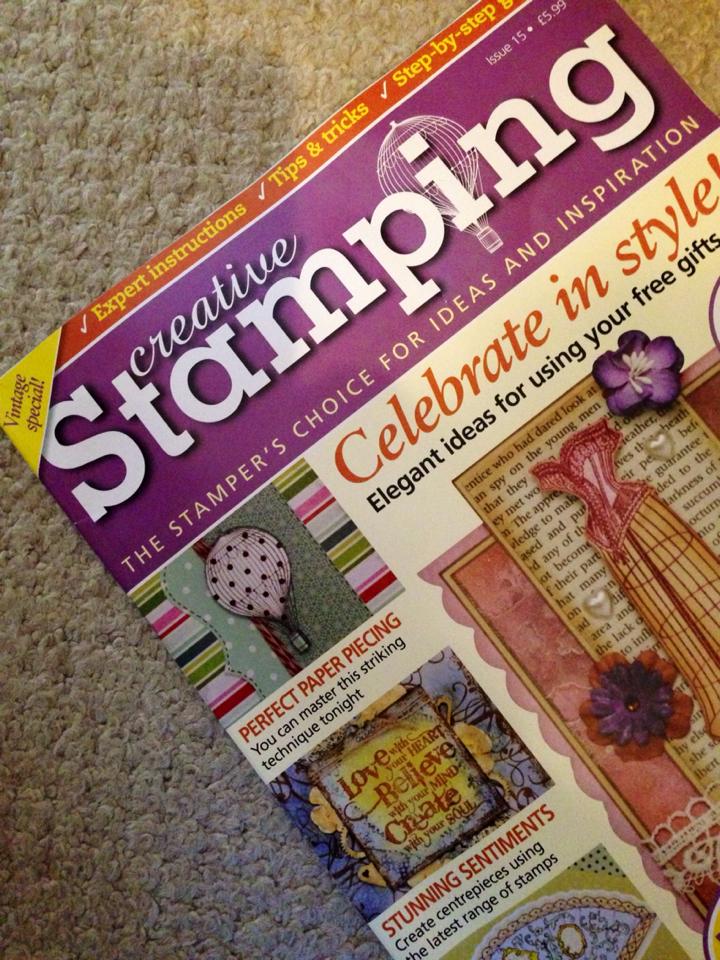
I am so excited that my card has made the cover of Creative Stamping Magazine this month!!! 


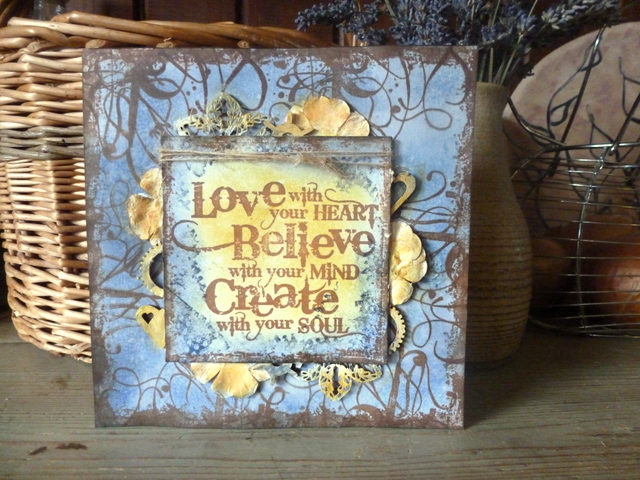
I used three of the Visible Image stamps for this: Create With Your Soul, Grunge Flourish, and Ripped Fishnet. The focus of the card was on this amazing quote penned co-owner of Visible Image Stamps, Helen! I absolutely love this quote, and was so excited to work on this card for the magazine.


I used white card and trimmed it down to a 3.5" square, stamping the Create With Your Soul sentiment with Sepia Archival Ink. If you use just the top of the Grunge Flourish stamp along the edges of the paper it makes a great grungy effect. I colored the sentiment with Spiced Marmalade Distress Ink in the center, applying Chipped Sapphire Distress Ink around the edges. Finally, I added some random texture to the sentiment by using the Ripped Fishnet stamp in Chipped Sapphire.


I trimmed a second piece of white card to create a 6" square. Taking the Grunge Flourish again, I stamped randomly around the edges of the card, stamping the flourishes towards the centre of the card. Using the top of the edge of the Grunge flourish again, I stamped the edges of the card for the grungy look. Ink the card with Chipped Sapphire Distress Ink. One of my favorite effects is to spray distress inks with water for a cool splotchy look. I did this here on the card.


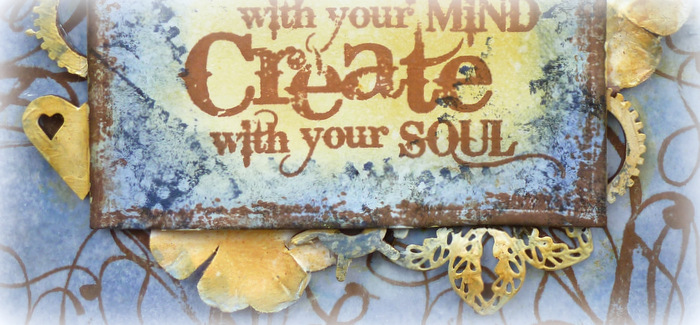
I next added the sentiment with foam tape to add further dimension. I wanted to add some fun texture to my card so I took some wooden, chipboard, and metal pieces as well as flowers from my stash and tucked them in under the raised sentiment. They are all different colors and shapes, so I took my gesso and coated them all and set aside to dry. When the gesso was dry I took my Spiced Marmalade Distress Ink and colored the embellishments using my foam pad for a strong color. I also sprayed water onto my craft mat and used a paint brush to add touches of the Chipped Sapphire Distress Ink color on the embellishments as well.

To finish off the card I wrapped some May Arts burlap twine around the top of the sentiment.

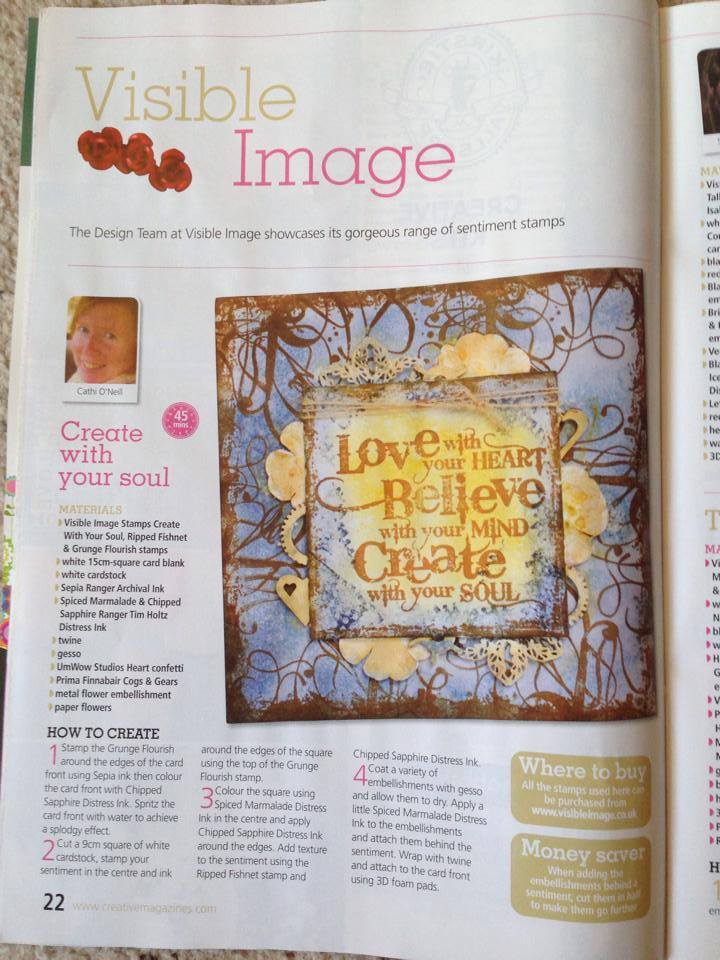
Here is a little photo of the article! So exciting!!


This month's challenge at Visible Image is "Anything Goes". 

Show us your creations using a Visible Image stamp, and you have a chance to win a £20 gift voucher towards the Visible Image store! The top 3 chosen by the team receive a blinkie. 

You can enter HERE!
Join us over at our fan page on Facebook or join our GROUP!
This month if you load a Visible Image project you've created in the group,
you also have a chance at the £20 prize, you have to be in it to win it though,
so I hope you have a look at the site and get some stamps and join in.


Love is in the Air! A card and tag from the the Frosted Designs January kit!


I am back again today with a few more projects using the January Kit from Frosted Designs: Love is in the Air!! This kit is full of gorgeous papers and embellies and I will be back again this month with another layout or two to show you!

The first project I will show you is my card. I featured the gorgeous Maya Road Linen Heart. I started with the gorgeous Authentique Smitten Written paper as a base and stitched along the edges. I then centered my beautiful linen heart next. The glittery "love" heart I made using an adhesive sheet and my distress glitters!! There will be a tutorial on how to make these glitter embellisments using a mask and some glitter at the end of my post.

There are some more gorgeous Petaloo flowers on the card, a Kaisercraft wood flag, some of the gorgeous die cut pieces from the Teresa Collins You are My Happy range, and that luscious pink chiffon ribbon! I finished it off with three little goosebump jewels.


My tag is laden with goodies from the kit! I started with the sheet of pink Teresa Collins You Are My Happy Noted paper. I layered a die cut tag and got the I love you to peek through the heart shaped window on the tag! You can see a Maya Road Kraft Tag, a Jillybean Soup flashcard, another gorgeous Teresa Collins You Are My Happy flowery die cut and some more Petaloo flowers building up my tag. Another glittery masked heart embellishment is part of the layers! I sprayed a bit of the Bubblegum Dylusions mist, added a few goosebumps and put a bit of twine winding around my tag that I took from my stash. I added more of the pink chiffon ribbon and twine on the tag to finish it off.

Want to see how to do the glittery heart embellishments? It is fun and simple!!

Masked Glitter Embellishments

To make your glitter embellishment you need an adhesive sheet of cardstock. I have some adhesive sheets I purchased, but I was also able to make my own sheets using some scrap cardstock and my Xyron sticker maker. Just make sure that the entire surface of the card has some dry adhesive.


Next place your mask over the adhesive sheet. You can cover the back of the stencil in Perfect Medium or Versamark to help the stencil lift from the adhesive sheet when you are done.


First add the main color for your heart shapes. I added my Picked Raspberry Distress Glitter from the kit, using the great heart mask also included in the messy option of the kit!Be sure to rub your fingers over the glitter to make sure it is adhered well!


Remove the mask and then simply take the Rock Candy Distress Glitter and pour over the whole sheet, it will cover the parts of sheet that were covered by the mask. You then cut around the heart shapes and you have a cute glittery embellishment to add to your project. I added one to both my card and the tag!