Pages

January 15, 2014

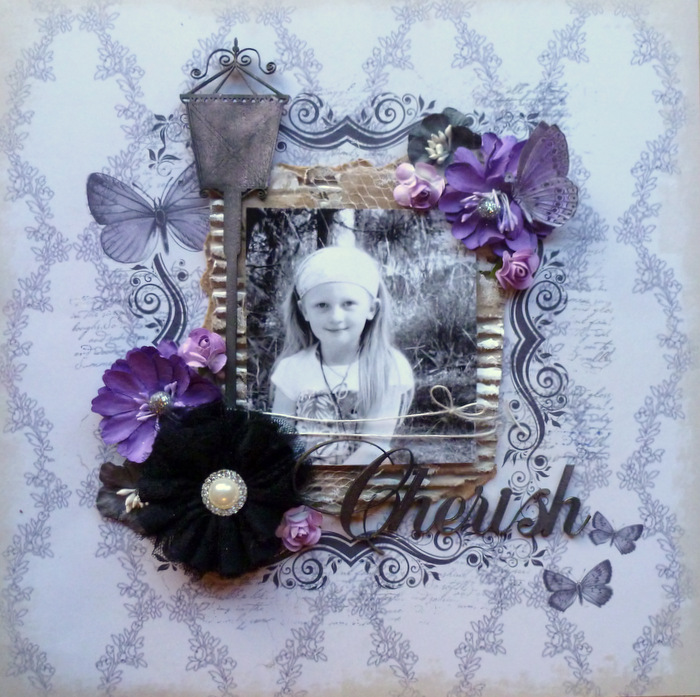
Cherish


This week Scrap Africa is hosting a RECYCLED challenge. I have added some Christmas recycling to this layout!! The corrugated board is from the flap of a box we just received with belated Christmas presents in it and I have also used some white netting on the photo matting which held some Christmas chocolates that came in a stocking! I used lots of Molossi chipboard on this layout as well as paper from Manor House and all of their flowers!
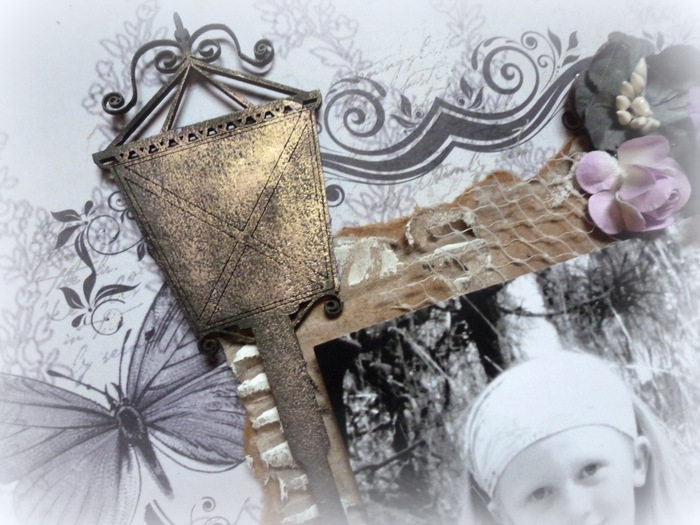

I used the gorgeous Lampost #3 chipboard piece for this layout. I inked it with Black Soot Distress Ink then took my Lilac Gold Gilding Wax and you can see the amazing metallic golden sheen this adds to your chipboard!
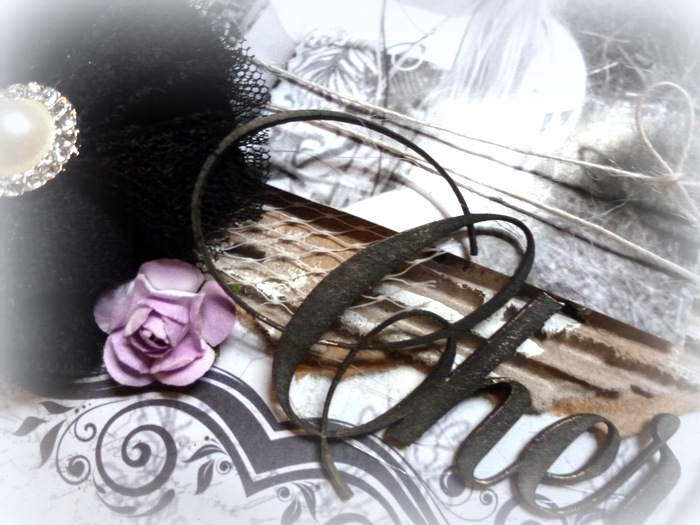

The second piece of Molossi chipboard I used is the Cherished word chippie. Again it was inked in black and I used the Lilac Gold Gilding Wax to highlight it.
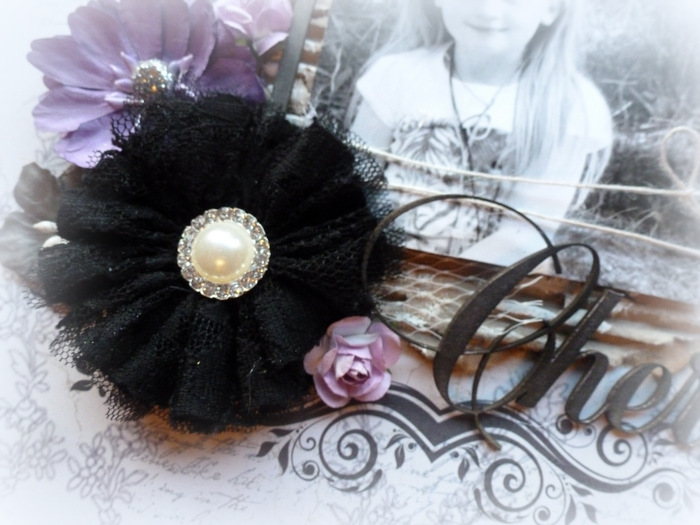

I used tons of Manor House flowers on my layout here you can see a Black Ballerina Flower from the Classic Mix. The grey flowers are from the Minuettes Pink Mix.  The large purple and smaller lilac flowers are from the Razzles Card pack in purple.
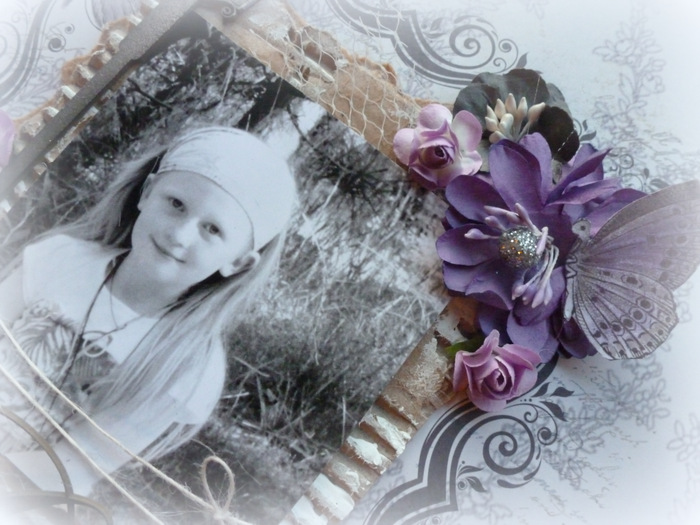

The papers I used are from the Manor House Believe paper collection. I used the Us Together paper for the base of my layout. For my fussy cut butterfly I placed on my flower cluster, I used an image from the Elements Cards paper.


Lamp Post #3Ballerina - classic mix  Minuettes - Pink mix  Razzles Card pack - PurpleUs together  Elements cards

January 14, 2014

Scrumptious Cupcake Pincushions!


Good enough to eat!! These cupcake pincushions feature lots of May Arts lace and ribbon and have a bit of a secret, they started their lives as modest....Pringles cans!!


Even though they are mini cans, they are still a bit tall for a cupcake, so cut the cans down about an inch.


To make the pincushion, cut 12 inch strips of  2.5" Wired Burlap3/4 Inch Lace / Pearl Center Ribbon,  and 1.5 Inch Satin / Pleats Ribbon.  You will need a further yard of the lace to make the cupcake "frosting" later.


Cover the Pringles can with the 2.5" Wired Burlap strip, hot glueing it into place.

For my pink and purple cupcakes, I used spray ink to color the ribbons and lace, and alcohol inks to color pearls.


Next, take the Pleated Satin Ribbon and the lace and glue them down. 


To make the pincushion top, use some polyester fiberfill and cover it with muslin. I took a small amount of the fiberfill and a 6 inch square of muslin to make this.


To make the top, simply use hot glue on the side of the lid and press the muslin into it. I alternated from one side to the other, pulling the muslin down and pressing it into the hot glue.


When I was done glueing all around the top of the lid, I trimmed down the muslin.


Glue the muslin down inside the lid top.


Next fit the pincushion top back onto the bottom of the pringles can cupcake base!!


Time to make the "frosting"! Again using my hot glue gun, I took my yard of lace and glued it down on the pincushion, working my way around the cushion and moving inward and upward to make the swirls.


Finish by swirling the last bit of lace into the centre.


If you are coloring your cupcake you can spray the lace and muslin now for a yummy finish.


I decided to give these pincushions to some friends as little kits to make the gorgeous beaded stickpins I have placed on top of the pincushions. I just popped open the top of the cupcake and they can be stored underneath, then when done, displayed on top!


January 10, 2014

Princess Layout for Creative Expressions


This week I wanted to do a layout for my project at Creative Expressions, featuring their fun new handbag single stamps! This photo of my daughter playing dress up was perfect for this stamp, as she had many of these gorgeous handbags in her dress up arsenal!!

I found the perfect paper in my Tim Holtz Crowded Attic Paper Stash paper: full of children's nursery rhymes!! I just had to use it for my layout!!  To make the the central photo and flower clusters stand out, I whitewashed the center of the paper with Cosmic Shimmer Soft White Texture Paste. For several of my die cuts and the gorgeous Bijou Bag stamp, I chose a red paper from the Tim Holtz Retro Grunge Paper Stash. I stamped and embossed the purse using Cosmic Shimmer Fine Detail White Embossing Powder and added some 8mm Self Adhesive White Pearls . The green flourish die cuts also come from this paper stash.

To start the layout I used the Spellbinders Half Moon Squares die and layered it under the photo. I also cut the gorgeous Spellbinder Fanciful Flight Butterfly and used one wing at the top of my photo mat. I highlighted the gorgeous die cut with Enchanted Gold Gilding Wax. For the beautiful flourishes I used the Heartfelt Creations Bella Rose leafy flourish die. My beautiful die cut rolled roses are from the Donna Salazar Bitty Blossoms dies. I made several of these and also used the beautiful Satin Gold Ribbon Roses. For a final touch I added a little Key Charm.

I really hope you enjoy my project this week!!

Cosmic Shimmer Texture Paste Soft WhiteTim Holtz Idea-ology Crowded Attic Paper StashTim Holtz Idea-ology Paper Stash Retro Grunge 

Spellbinder Die Half Moon SquaresCreative Expressions Gilding Wax Enchanted GoldBijou Bag Pre-Cut Stamp


Spellbinder Die Fanciful Flight  Spellbinder Die Bitty Blossoms     Heartfelt Belle Rose Die TemplateCosmic Shimmer Detail Emboss Powder True White  Self Adhesive Pearls White 8mmSatin Ribbon Roses Gold pk 8Assorted Key Charms pk 18

January 9, 2014

Free Your Imagination Card for Visible Image


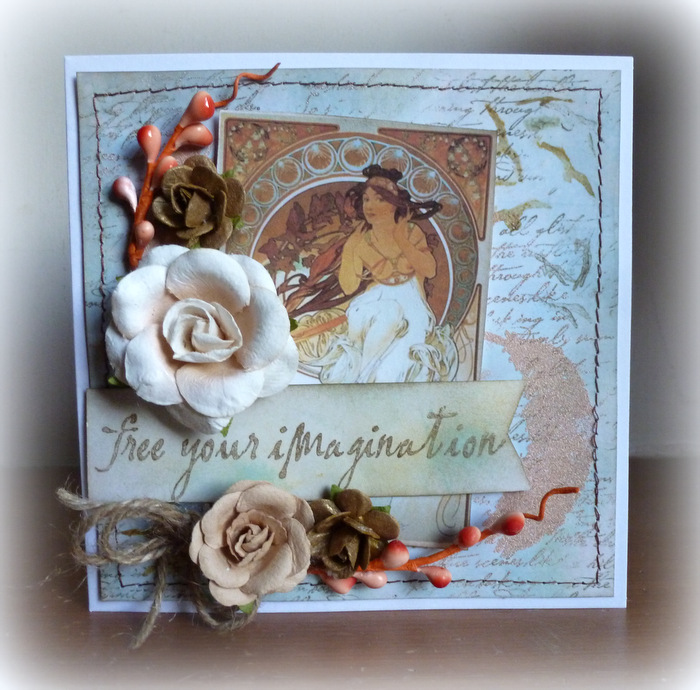
This week I have made a card with another gorgeous Art Nouveau image from Mucha, I am on a bit of a roll with these, I printed several out and just love the images and colors. If you look behind the girl I see a bunch of birds sitting on branches...it made me think of the gorgeous Free Your Imagination set by Visible Image.

To make this card I started with some patterned paper by Prima. I embossed the feather from the set using Ranger Antiquities embossing powder in terra cotta, it has a great grainy texture to it! I used the Bronte Script as a background for the card and added some of the bird stamps in the corner using a brown gelato.

I stamped the "Free Your Imagination" sentiment using Walnut Stain Distress Ink and then added some gorgeous flowers and vines from my stash. I finished off the card with a bit of stitching and twine!

I hope you like it my card this week!! If you love the stamps like I do, just click on the links or images to go to the website!!


This month's challenge at Visible Image is "Anything Goes". 

Show us your creations using a Visible Image stamp, and you have a chance to win a £20 gift voucher towards the Visible Image store! The top 3 chosen by the team receive a blinkie. 

You can enter HERE!
Join us over at our fan page on Facebook or join our GROUP!
This month if you load a Visible Image project you've created in the group,
you also have a chance at the £20 prize, you have to be in it to win it though,
so I hope you have a look at the site and get some stamps and join in.


January 4, 2014

Something New Challenge for Sugar Creek Hollow!!


This week at Sugar Creek Hollow, we are challenged to use something new from our stash, Christmas pressie goodies, new purchases from sales around Christmas time... I chose to use gorgeous flowers and embellies from a new kit I received and the new gelatos I received. I made my own background using a harlequin stamp which I used the gelatos to stamp with, it makes a gorgeous subtle watercolor stamping effect. It was a lot of fun to try and love the effect it gives. I also used Spiced Marmelade Distress Ink to tie in with some of the oranges in my vintage image.

I love the gorgeous Art Nouveau images done by Mucha, I have printed off several of them recently, so these are also new to me! I finished off my card with some flowers from my stash some gorgeous burlap ribbon and twine and a key resin.

I hope you will use some of your new goodies and come play along with us this week!!!

Anything Goes! January Challenge for Visible Image

This month's challenge at Visible Image is "Anything Goes". 

Show us your creations using a Visible Image stamp, and you have a chance to win a £20 gift voucher towards the Visible Image store! The top 3 chosen by the team receive a blinkie. 

You can enter HERE!


I had a wonderful time making this card. I love to use vintage images on my cards and just love the Art Nouveau designs of Mucha! I had a few printed out and waiting to be used, so I made my own card background for this one using several gorgeous stamps from Visible Image!!

To start, I had a 5 inch square piece of white card. I stamped my standby favorite script stamp Bronte Script with Sepia Archival Ink.  Looking at my image I took the orange from it and inked the white card with Spiced Marmelade Distress Ink. I then took some new to me, gelatos and used my Harlequin Background stamp to stamp the blue "sno cone" color gelato onto my background, I love the faded watercolor look that this gave the design! I edged the card with some Walnut Stain Distress Ink. I added some gorgeous Molossi orange paper flowers and bling.

I added some flowers and a Molossi Fleur de Lis chipboard which I colored with the blue gelato to embellish the card and then finished it off with the gorgeous new Once Upon a Time stamp!

If you are interested in any of these gorgeous stamps, just click on the image to head on over to the store.